E-MapReduce
E-MapReduce


- 文档首页
 E-MapReduce组件操作指南TensorFlow高阶使用

经过先前章节的分享,相信您已经具备了基本的 Primus 认识。因此这个章节主要会分享一些更进阶的 Primus 使用方式。
1 本地创建 Python 虚拟环境
由于 TensorFlow 本身是一个 Python 应用,因此准备 Python 虚拟环境是非常重要的,所以在 基础使用 章节中示范了如何在 EMR DataScience 集群中的 master node 通过公网创建 Python 虚拟环境。
但是在日常使用中,您可能因为各种因素无法在 EMR DataScience 集群中的 master node 创建 Python 虚拟环境,所以在此分享一种在本地通过 docker container 创建 Python 虚拟环境的方式,范例中会创建一个拥有 TOS 依赖的 Python 虚拟环境。
# [HOST] Start a continer with a shared directory (any directory will do)
# NOTE: Have to start docker deamon first on host machine.
$ mkdir shared
$ docker run --rm -it --name python-3.9.9 --mount type=bind,source="$(pwd)"/shared,target=/mnt python:3.9.9 bash

# [Container] Install the needed toolings
$ apt-get update
$ apt-get install python3-venv

# [Container] Create venv and install needed packages
$ cd /mnt
$ /usr/bin/python3.9 -m venv venv # Important! have to use the python with the exact path on EMR machines
$ source venv/bin/activate

$ pip install --upgrade pip
$ pip install 'tensorflow==2.7.0'
$ pip install 'tensorflow-io==0.24.0'

$ git clone https://github.com/volcengine/ve-tos-python-sdk # TOS dependencies, follows https://www.volcengine.com/docs/6349/93479
$ cd ve-tos-python-sdk
$ python3 setup.py install
$ cd ..

$ deactivate

# [Container] Package the venv
$ tar -zcf venv.tar.gz venv

# [Container] Quit the container
$ exit

# [Host] Locate the venv.tar.gz
$ ls shared
ve-tos-python-sdk
venv
venv.tar.gz # Upload to /home/yarn/primus-playground/examples/tos
2 TOS 集成
对象存储 TOS(Tinder Object Storage)为火山引擎 EMR 的主要存储之一,相对于之前运行在 HDFS 的范例,与 TOS 能够让 EMR DataScience 集群更直接的跟其他 EMR 集群交换资料,因此 EMR DataScience 与 TOS 的集成是相当重要的,在这个章节中同样提供了一个范例作为真实使用的参考。
2.1 准备工作
2.1.1 Python 虚拟环境
首先需要创建一个支持 TOS 的 Python 虚拟环境,详细的步骤请参考:本地创建Python虚拟环境。
2.1.2 训练资料
和基于 HDFS 的范例相同,需要准备资料到 TOS 上。
上传
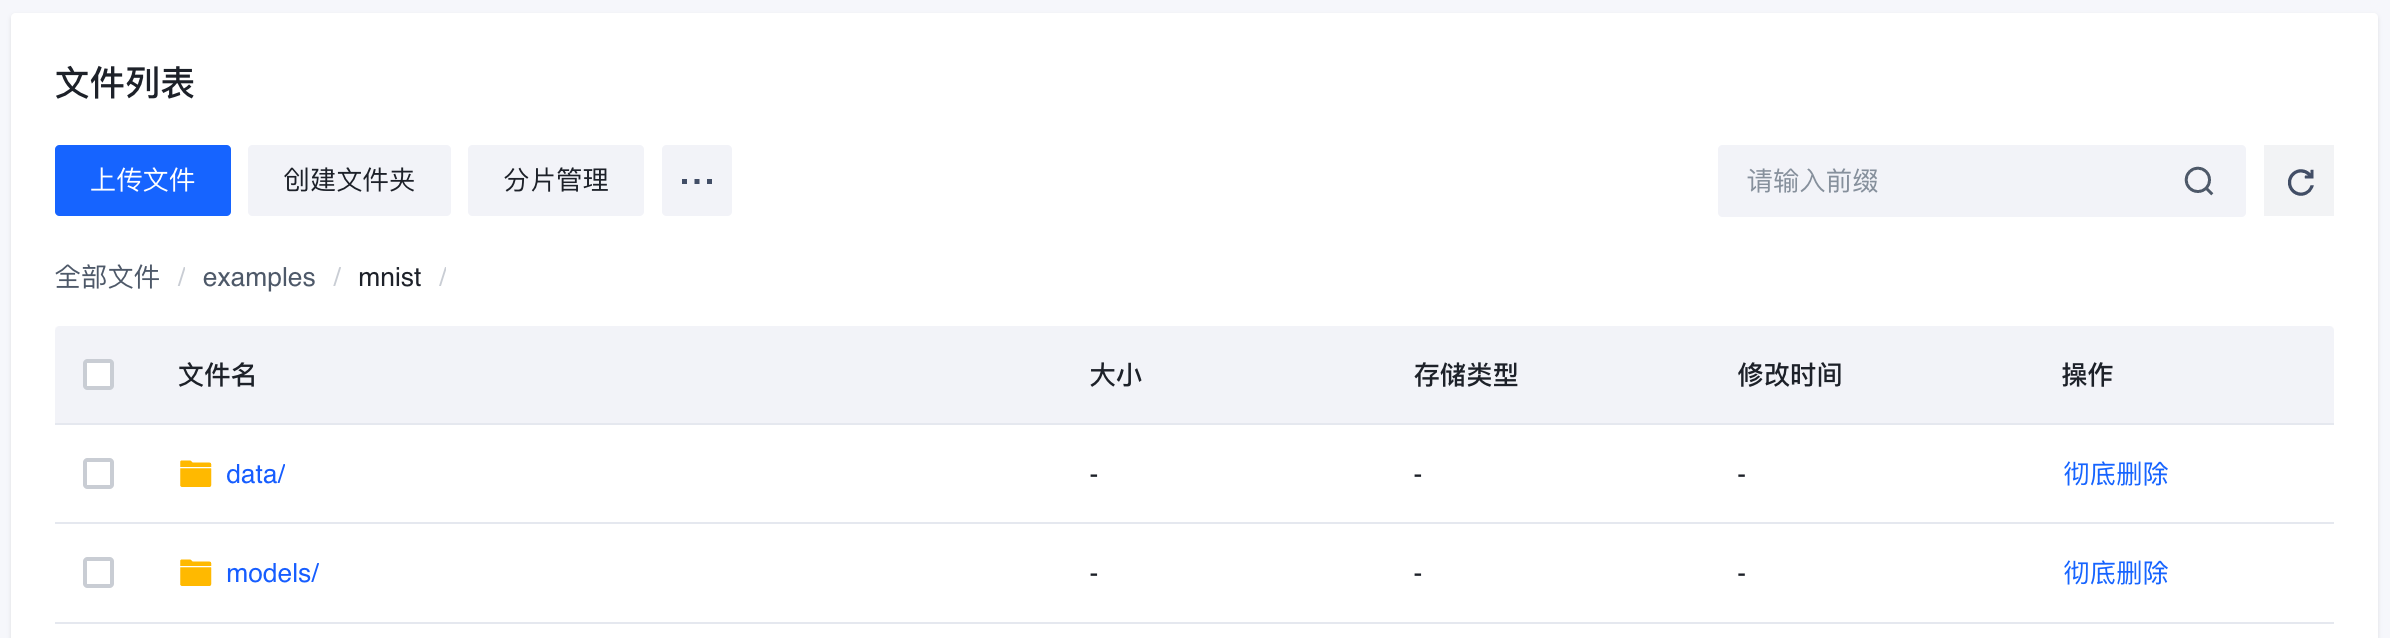
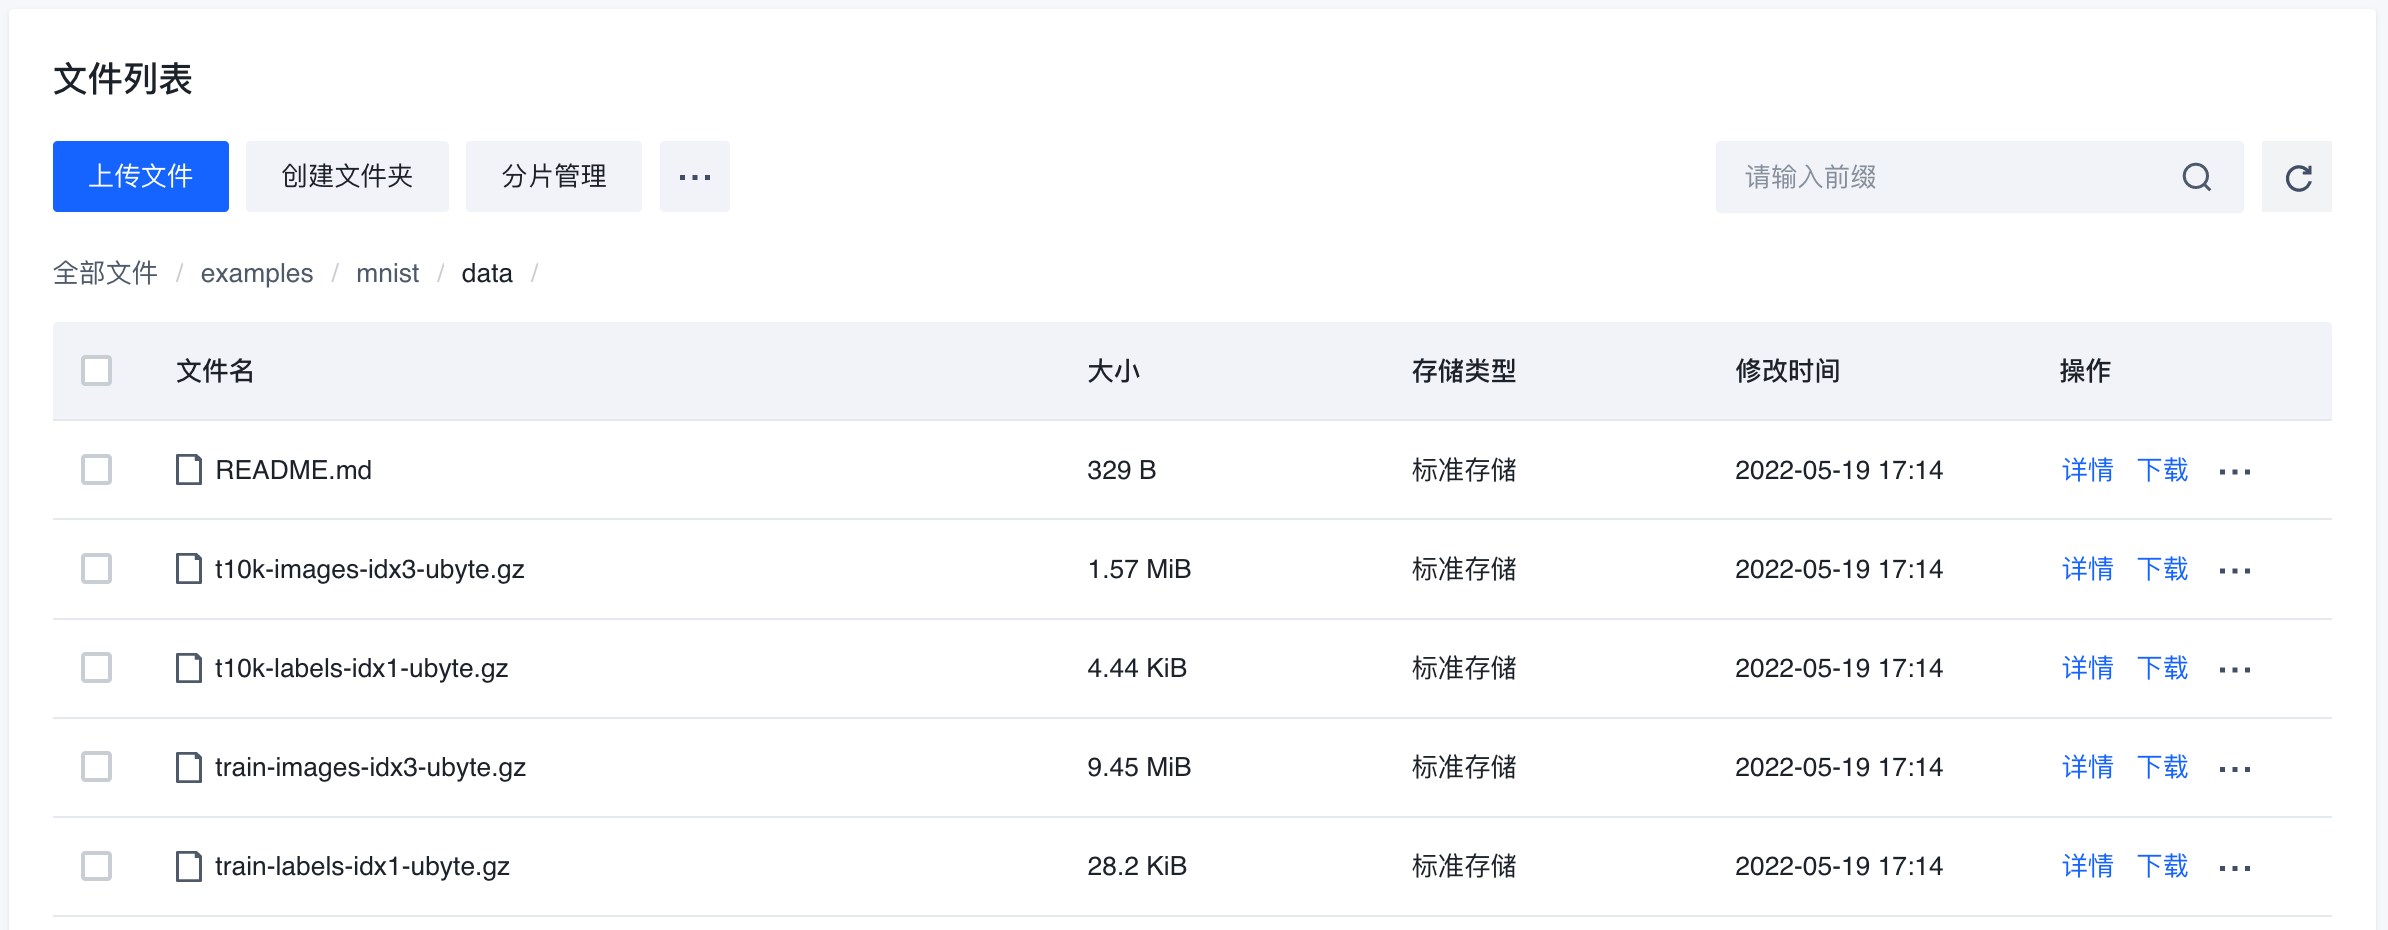
<PrimusExamples>/shared/mnist/data到 TOS(/examples/mnist)创建
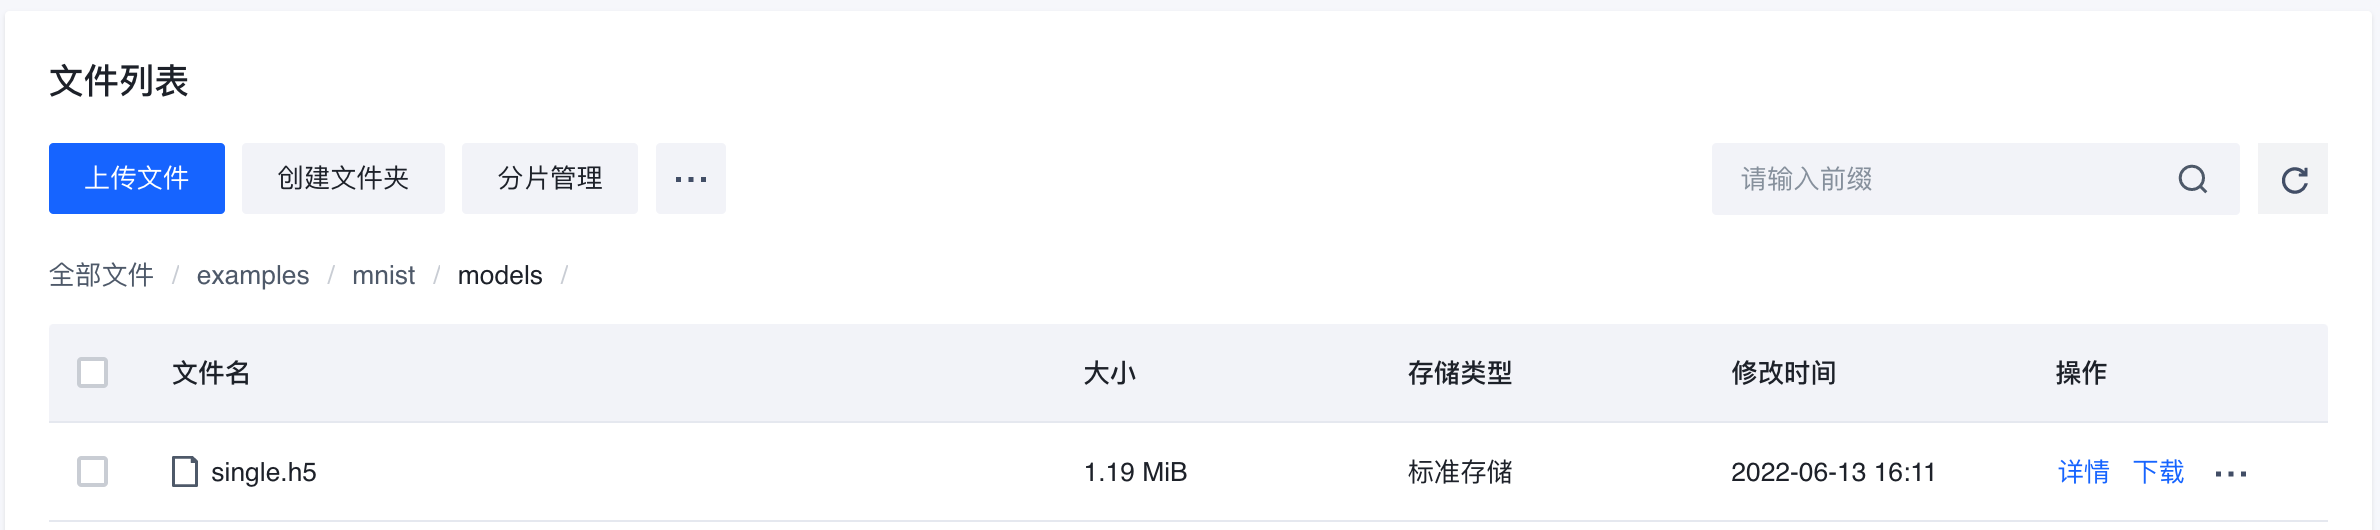
/examples/mnist/models/来存放范例所生成的模型
2.1.3 训练资源
如下列清单所示,需要上传先前创建含有 TOS 依赖的 Python 虚拟环境,并且解压缩让后续的模型验证脚本使用。同时必须修改训练脚本 (main.py 以及 evaluate.py) 来指定 TOS 的相关信息。
~/primus-playground/examples
 |...
 |-- shared
 |   |...
 |   `-- venv.tos        # Create a new directory
 |       |-- venv        # untar from -zxf venv.tar.gz
 |       `-- venv.tar.gz # upload the venv.tar.gz generated in the previous step
 `-- tos
     |-- evaluate.py
     |-- main.py # manual modification needed!
     |-- main.sh # manual modification needed!
     |-- mnist.py
     `-- primus_config.json
#!/usr/bin/env python3
...
AK = <CUSTOMIZED_VALUES>
SK = <CUSTOMIZED_VALUES> REGION = <CUSTOMIZED_VALUES> ENDPOINT = <CUSTOMIZED_VALUES>
BUCKET = <CUSTOMIZED_VALUES>
...
2.2 开始训练
与基于 HDFS 的范例相似,范例一样会透过 primus-submit 提交训练任务,最后通过另一个 Python 脚本来验证输出的模型,唯一的区别是训练资料以及输出的模型都是存储在 TOS 上。
# Change to yarn user
$ su --shell=/bin/bash - yarn

# Submit a Primus application
$ cd ~/primus-playground
$ primus-submit --primus_conf examples/tos/primus_config.json
...
22/06/13 16:10:19 INFO client.YarnSubmitCmdRunner: Training successfully started. Scheduling took 10013 ms.
22/06/13 16:11:40 INFO client.YarnSubmitCmdRunner: State: FINISHED  Progress: 100.0%
22/06/13 16:11:40 INFO client.YarnSubmitCmdRunner: Application <YARN-APPLICATION-ID> finished with state FINISHED at 2022-06-13 16:11
22/06/13 16:11:40 INFO client.YarnSubmitCmdRunner: Final Application Status: SUCCEEDED
...

# Check the logs
$ yarn logs --applicationId <YARN-APPLICATION-ID> | grep -E "Epoch|FIN"
+ echo FIN
Epoch 1/5
Epoch 2/5
Epoch 3/5
Epoch 4/5
Epoch 5/5
FIN

# Evaluate the model persisted on TOS
$ cd examples/tos
$ ../shared/venv.tos/venv/bin/python evaluate.py --mnist examples/mnist/data --model examples/mnist/models/single.h5
...
Model accuracy: [0.2905164957046509, 0.9318000078201294]
最后输出的模型也会在 TOS 的页面上出现。