ByteHouse云数仓版
ByteHouse云数仓版


- 文档首页
 ByteHouse云数仓版用户指南生态工具ELT工具Airflow

Apache Airflow 是一个开源平台,用于开发、调度和监控批处理工作流。
先决条件
- 在您的虚拟/本地环境中安装
pip - 在您的虚拟/本地环境中安装
ByteHouse CLI,并使用您自己的ByteHouse账户登录。对于Mac OS,您可以直接通过homebrew安装它。对于其他安装方法,请参考ByteHouse CLI文档。
brew install bytehouse-cli
安装 Airflow
首先,在您的本地环境或虚拟环境中安装 Apache Airflow。在本教程中,我们使用 pip 进行安装。有关其他安装方法,请查看 Apache Airflow 官方文档以获取详细信息。
# To use Airflow, you need to specify a directory; default directory is ~/airflow,
# If you prefer, you can choose another location
# (optional)
export AIRFLOW_HOME=~/airflow

# run the following
AIRFLOW_VERSION=2.7.0
PYTHON_VERSION="$(python --version | cut -d " " -f 2 | cut -d "." -f 1-2)"

CONSTRAINT_URL="https://raw.githubusercontent.com/apache/airflow/constraints-${AIRFLOW_VERSION}/constraints-${PYTHON_VERSION}.txt"
pip install "apache-airflow==${AIRFLOW_VERSION}" --constraint "${CONSTRAINT_URL}"
Note: 注意:如果您使用
pip安装失败,请尝试根据您的 Python 版本使用pip3 install命令进行安装。
安装完成后,运行命令airflow info以获取有关 Airflow 的更多信息。
Airflow 初始化
通过执行以下命令来初始化 Airflow 的 Web 服务器:
# initialise the database
airflow db init

airflow users create \
    --username admin \
    --firstname admin \
    --lastname admin \
    --role Admin \
    --email admin
# start the web server, default port is 8080
# or modify airflow.cfg set web_server_port
airflow webserver --port 8080
设置完 Web 服务器后,您可以访问 http://localhost:8080/,使用之前设置的用户名和密码登录 Airflow 控制台。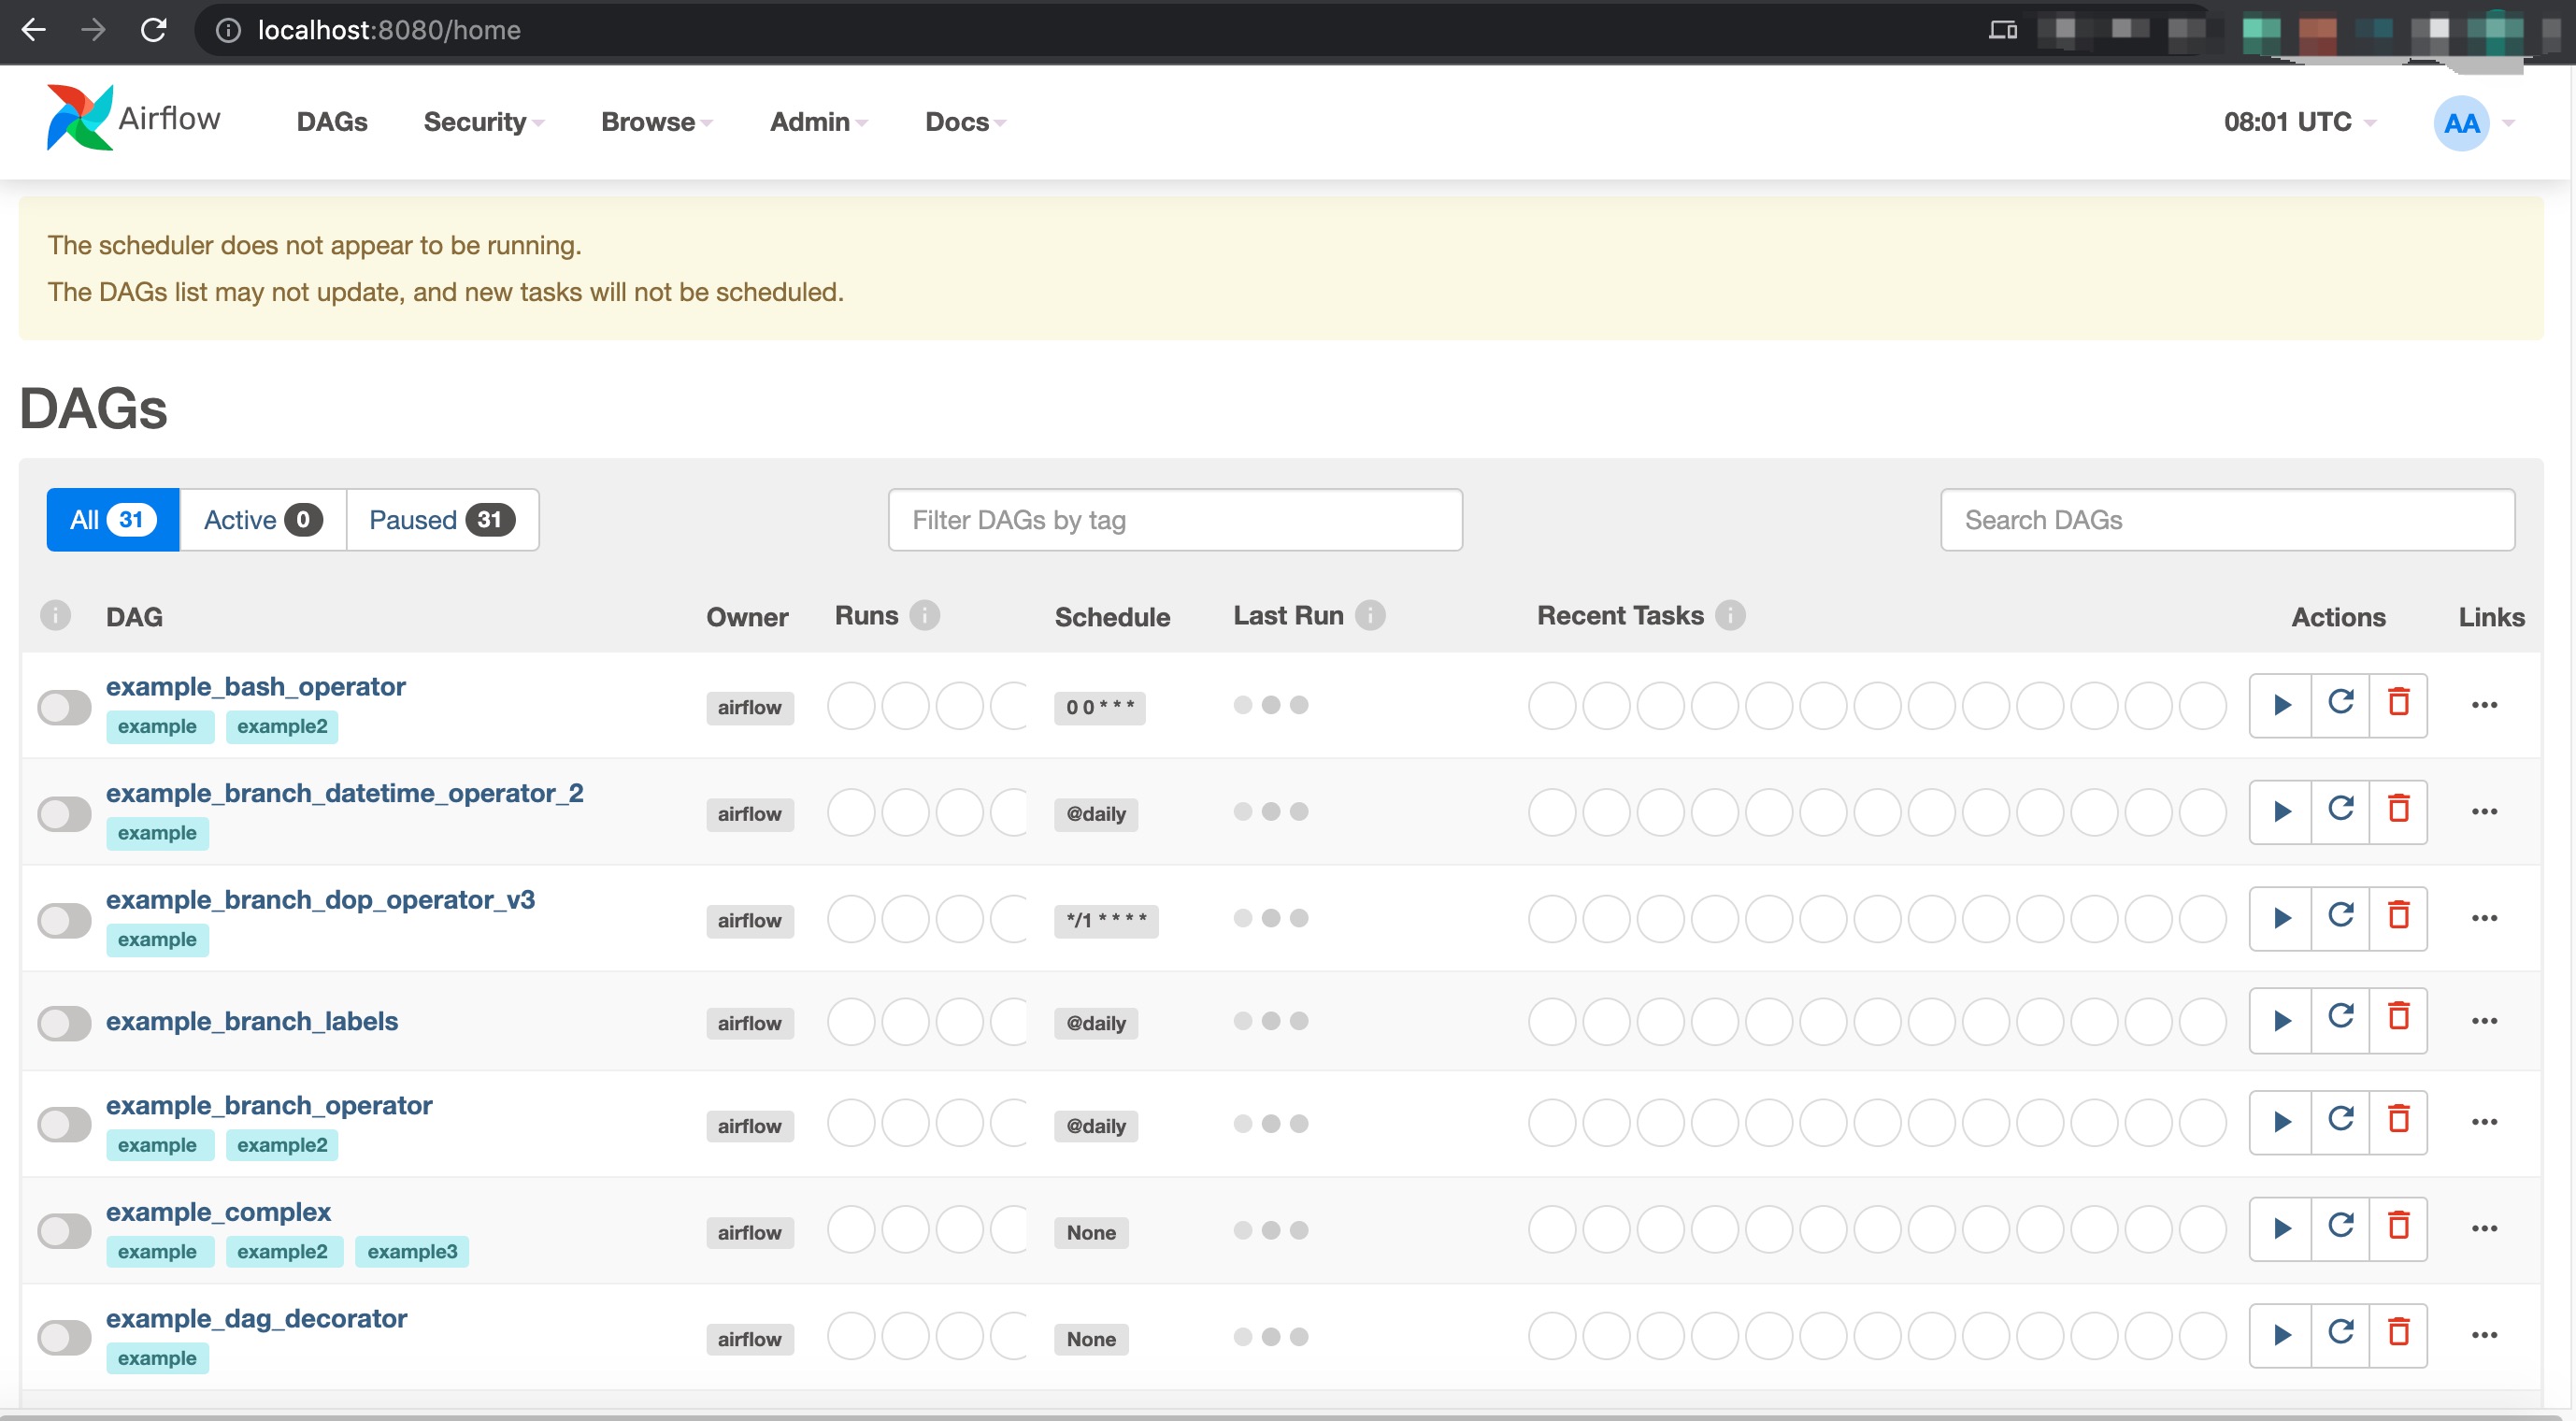
在一个新的终端中,通过以下命令设置 Airflow 调度程序,然后刷新 http://localhost:8080/。
# start the scheduler
# open a new terminal or else run web server with ``-D`` option to run it as a daemon
airflow scheduler
# visit localhost:8080 in the browser and use the admin account you just
# created to login. Enable the example_bash_operator dag in the home page
创建 DAG 作业
在 airflow 的路径下创建名为 dags 的文件夹,然后创建 test_bytehouse.py 以启动新的 DAG 作业。
~/airflow
mkdir dags
cd dags
nano test_bytehouse.py
在test_bytehouse.py中添加以下代码,该作业可以连接到 ByteHouse CLI 并使用 BashOperator 运行任务,以运行查询或将数据加载到 ByteHouse 中。
from datetime import timedelta
import pendulum
from airflow import DAG
from airflow.operators.bash import BashOperator
default_args = {
    'owner': 'airflow',
    'depends_on_past': False,
    'email': ['airflow@example.com'],
    'email_on_failure': False,
    'email_on_retry': False,
    'retries': 1,
    'retry_delay': timedelta(minutes=1),
}
# Create the DAG instance
with DAG(
    'test_bytehouse',
    default_args=default_args,
    description='A simple tutorial DAG',
    schedule=timedelta(days=1),
    start_date=pendulum.today('UTC').add(days=-1),
    tags=['example'],
) as dag:
    # Define the BashOperators
    tCreateDatabase = BashOperator(
        task_id='ch_database',
        depends_on_past=False,
        bash_command='bytehouse-cli --host {HOST} --port {PORT} --secure --token {API_KEY} -q "CREATE DATABASE airflow_demo"'
    )

    tCreateTable = BashOperator(
        task_id='ch_table',
        depends_on_past=False,
        bash_command='bytehouse-cli --host {HOST} --port {PORT} --secure --token {API_KEY} -q "CREATE TABLE airflow_demo.demo_tb(id UInt64) ENGINE=CnchMergeTree() ORDER BY id"'
    )

    tImport = BashOperator(
        task_id='ch_import',
        depends_on_past=False,
        bash_command='bytehouse-cli --host {HOST} --port {PORT} --secure --token {API_KEY} -q "INSERT INTO airflow_demo.demo_tb values (1)"',
    )

    tSelect = BashOperator(
        task_id='ch_select',
        depends_on_past=False,
        bash_command='bytehouse-cli --host {HOST} --port {PORT} --secure --token {API_KEY} -q "SELECT * FROM airflow_demo.user"',
    )
    tCreateDatabase >> tCreateTable >> tImport >> tSelect
在当前文件路径下运行 python test_bytehouse.py,以在 Airflow 中创建 DAG。
刷新浏览器中的网页,您可以看到新创建的DAG名为 test_bytehouse显示在 DAG 列表中。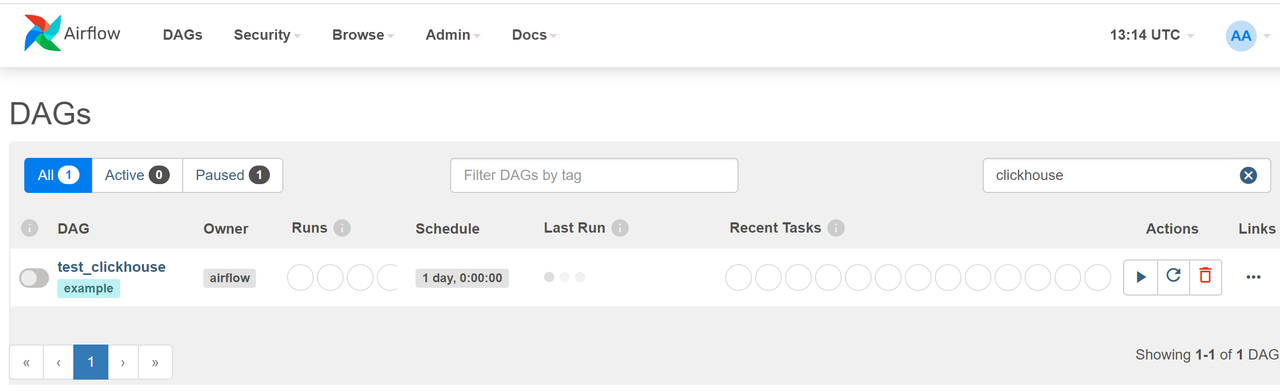
在终端中运行以下的Airflow命令,以查看DAG列表和test_BytehouseDAG中的测试子任务。你可以分别测试查询执行和数据导入任务。
#prints the list of tasks in the "test_bytehouse" DAG
airflow tasks list test_bytehouse
#output
ch_database
ch_import
ch_select
ch_table

#prints the hierarchy of tasks in the "test_bytehouse" DAG
airflow tasks list test_bytehouse --tree
#output
<Task(BashOperator): ch_database>
    <Task(BashOperator): ch_table>
        <Task(BashOperator): ch_import>
            <Task(BashOperator): ch_select>
运行DAG成功之后,您会在DAG中看到成功标志。
在您的ByteHouse账户中检查查询历史记录页面和数据库模块,您可以看到数据被成功查询/加载。